---
title: "Top 10 new features in 2025"
slug: new-features-in-2025
description: "A recap of some of the best features Resend launched this year."
created_at: "2025-12-18"
updated_at: "2025-12-18"
image: https://cdn.resend.com/posts/new-features-in-2025.jpg
humans: ["chris-pennington"]
category: "product"
featured: true
---
Before moving into 2026, let's recap some of the best features we launched this year.
Here's a quick overview:
1. [Inbound Emails](#1-inbound-emails)
2. [New Email](#2-new-email)
3. [Templates](#3-templates)
4. [Multiple Teams](#4-multiple-teams)
5. [Idempotency Keys](#5-idempotency-keys)
6. [Multiplayer Editor](#6-multiplayer-editor)
7. [React Email 5.0](#7-react-email-50)
8. [Contacts Experience](#8-contacts-experience)
9. [Unsubscribe Topics](#9-unsubscribe-topics)
10. [Inline Image Attachments](#10-inline-image-attachment)
11. [Bonus: Pay As You Go](#11-bonus-pay-as-you-go)
## 1. Inbound Emails
This year, we enabled you to [receive emails with Resend](/blog/inbound-emails), our most requested feature.
Inbound unlocks entirely new use cases like:
- Replying to in-app emails
- Processing forwarded attachments
- Receiving support emails from users
Resend processes all incoming emails to the provided address and then:
- Parses the email content as JSON
- Stores the attachment file(s)
- Sends a JSON payload to an endpoint of your choice
## 2. New Email
With the rise of AI tools, email templating has become both easier and more difficult. Most LLMs can generate templates, but you can't have confidence they'll render correctly in all email clients.
That's why we built [new.email](https://new.email).
[new.email](https://new.email) is for developers, marketers, designers, and anyone who wants to create beautiful emails using natural language.
Start by creating a template and refine it until it looks great.
## 3. Templates
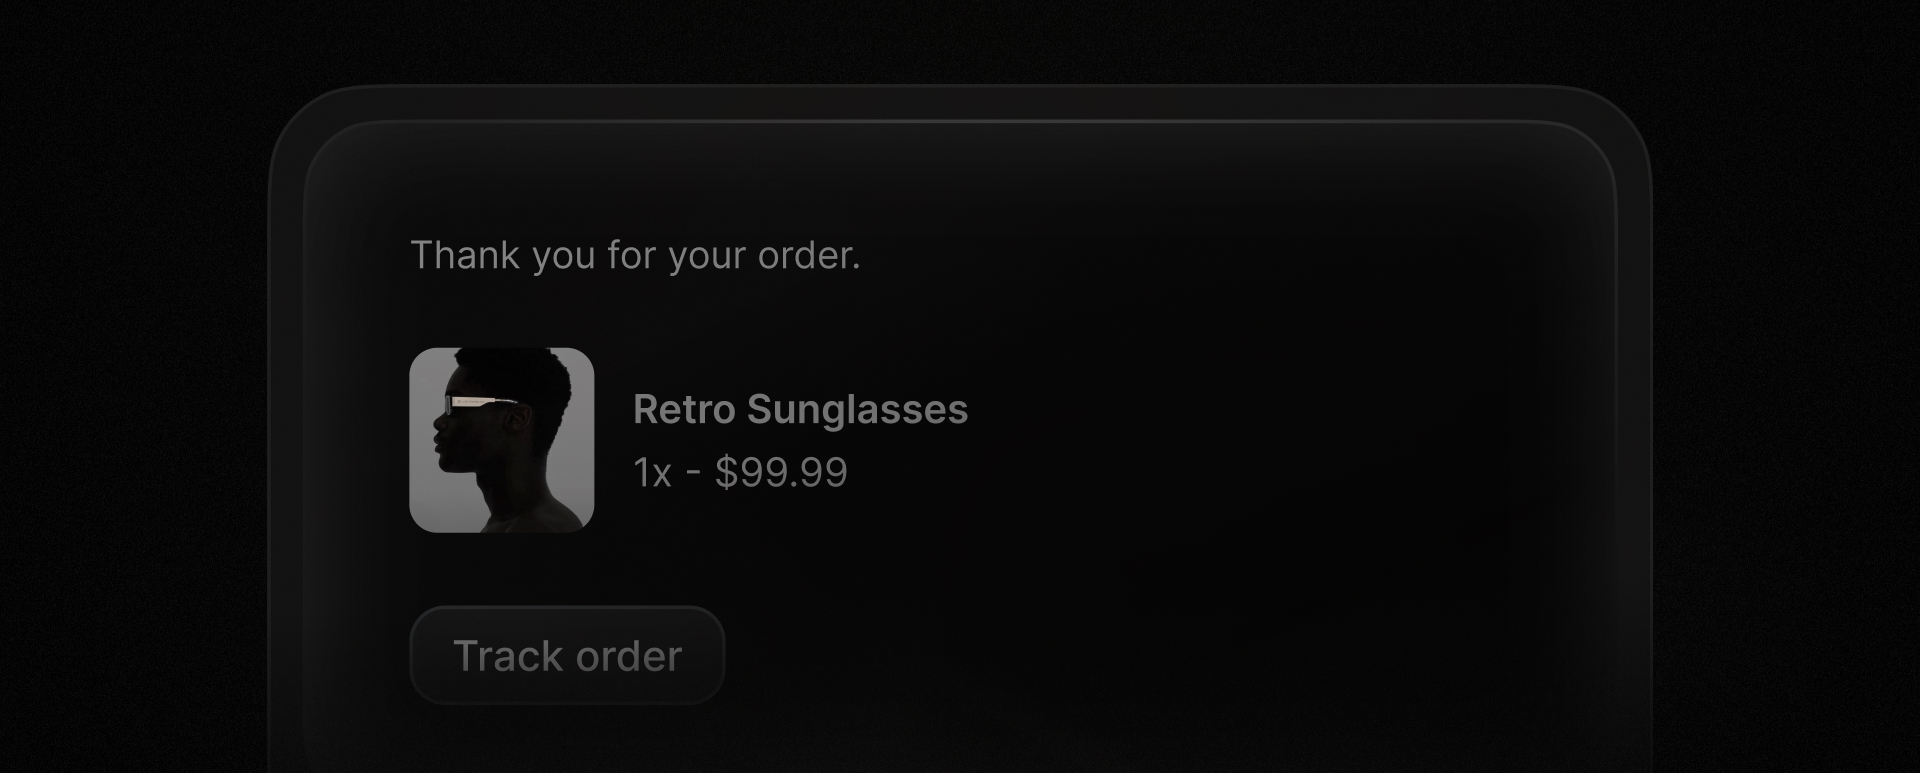
This year, we launched [Templates](/blog/introducing-templates), a new way for your team to personalize emails.
Define a structure and style of your template to communicate your brand. Then, add variables to personalize the email.
Anyone on your team, from designers to marketers to developers, can create templates together in realtime with full versioning, collaboration, and rollback capabilities.
When you're ready to send an email, pass the template ID and variables. We'll handle the rest.
```nodejs
import { Resend } from 'resend';
const resend = new Resend('re_xxxxxxxxx');
await resend.emails.send({
from: 'Wayback Store ',
to: 'customer@example.com',
--highlight-start
template: {
id: 'order-confirmation',
variables: {
PRODUCT: 'Vintage Macintosh',
PRICE: 499
}
}
--highlight-end
});
```
```ruby
require "resend"
Resend.api_key = "re_xxxxxxxxx"
Resend::Emails.send({
from: "Wayback Store ",
to: "customer@example.com",
--highlight-start
template: {
id: "order-confirmation",
variables: {
PRODUCT: "Vintage Macintosh",
PRICE: 499
}
}
--highlight-end
})
```
```php
$resend = Resend::client('re_xxxxxxxxx');
$resend->emails->send([
'from' => 'Wayback Store ',
'to' => 'customer@example.com',
--highlight-start
'template' => [
'id' => 'order-confirmation',
'variables' => [
'PRODUCT' => 'Vintage Macintosh',
'PRICE' => 499
]
]
--highlight-end
]);
```
```python
import resend
resend.api_key = "re_xxxxxxxxx"
resend.Emails.send({
"from": "Wayback Store ",
"to": "customer@example.com",
--highlight-start
"template": {
"id": "order-confirmation",
"variables": {
"PRODUCT": "Vintage Macintosh",
"PRICE": 499
}
}
--highlight-end
})
```
```go
import "github.com/resend/resend-go/v2"
client := resend.NewClient("re_xxxxxxxxx")
params := &resend.SendEmailRequest{
From: "Wayback Store ",
To: []string{"customer@example.com"},
--highlight-start
Template: &resend.Template{
ID: "order-confirmation",
Variables: map[string]interface{}{
"PRODUCT": "Vintage Macintosh",
"PRICE": 499
},
},
--highlight-end
}
email, err := client.Emails.Send(params)
```
```rust
use resend_rs::{types::SendEmailOptions, Resend, Result};
#[tokio::main]
async fn main() -> Result<()> {
let resend = Resend::new("re_xxxxxxxxx");
--highlight-start
let variables = serde_json::json!({
"PRODUCT": "Vintage Macintosh",
"PRICE": 499
});
let opts = SendEmailOptions::new("Wayback Store ", vec!["customer@example.com"])
.with_template("order-confirmation", variables);
--highlight-end
let _email = resend.emails.send(opts).await?;
Ok(())
}
```
```java
Resend resend = new Resend("re_xxxxxxxxx");
--highlight-start
Map variables = new HashMap<>();
variables.put("PRODUCT", "Vintage Macintosh");
variables.put("PRICE", 499);
--highlight-end
SendEmailOptions params = SendEmailOptions.builder()
.from("Wayback Store ")
.to(Arrays.asList("customer@email.com"))
--highlight-start
.template(Template.builder()
.id("order-confirmation")
.variables(variables)
.build())
--highlight-end
.build();
SendEmailResponseSuccess data = resend.emails().send(params);
```
```dotnet
using Resend;
IResend resend = ResendClient.Create("re_xxxxxxxxx");
--highlight-start
var variables = new Dictionary
{
{ "PRODUCT", "Vintage Macintosh" },
{ "PRICE", 499 }
};
--highlight-end
var resp = await resend.EmailSendAsync(
new EmailMessage()
{
From = "Wayback Store ",
To = new[] { "customer@example.com" },
Template = new Template()
--highlight-start
{
Id = "order-confirmation",
Variables = variables
}
--highlight-end
}
);
Console.WriteLine($"Email Id={resp.Content}");
```
```curl
curl -X POST 'https://api.resend.com/emails' \
-H 'Authorization: Bearer re_xxxxxxxxx' \
-H 'Content-Type: application/json' \
-d $'{
"from": "Wayback Store ",
"to": "customer@example.com",
--highlight-start
"template": {
"id": "order-confirmation",
"variables": {
"PRODUCT": "Vintage Macintosh",
"PRICE": 499
}
}
--highlight-end
}'
```
Build together with your team. Edit in realtime. Roll back to previous versions or publish new versions without any additional code changes.
## 4. Multiple Teams
Earlier this year, we added support for [multiple teams](/blog/multiple-teams).
Each team is distinct, with its own API keys, billing, and usage. You can create as many new teams as you need.
Team members can be given roles, so each person on your team has the right permissions.
- **Members** have access to manage emails, domains and webhooks.
- **Admins** have all Member permissions, but can also invite users, update payments, and delete the team.
## 5. Idempotency Keys
When sending emails at scale, it's important to ensure your emails are sent only once. Emails may accidentally be sent multiple times for a variety of reasons:
- **Retry logic** that attempts to send an email due to a server error or timeout
- When **different services might trigger** the same email
- **Multiple form submissions** on a website
That's why, we added support for idempotency keys to the **Email API and Batch API**.
```nodejs
await resend.emails.send(
{
from: 'Acme ',
to: ['delivered@resend.dev'],
subject: 'hello world',
html: 'it works!
',
},
{
idempotencyKey: 'welcome-user/123456789',
},
);
```
```php
$resend = Resend::client('re_xxxxxxxxx');
$resend->emails->send([
'from' => 'Acme ',
'to' => ['delivered@resend.dev'],
'subject' => 'hello world',
'html' => 'it works!
',
], [
'idempotency_key' => 'welcome-user/123456789',
]);
```
```python
params: resend.Emails.SendParams = {
"from": "Acme ",
"to": ["delivered@resend.dev"],
"subject": "hello world",
"html": "it works!
"
}
options: resend.Emails.SendOptions = {
"idempotency_key": "welcome-user/123456789",
}
resend.Emails.send(params, options)
```
```ruby
params = {
"from": "Acme ",
"to": ["delivered@resend.dev"],
"subject": "hello world",
"html": "it works!
"
}
Resend::Emails.send(
params,
options: { idempotency_key: "welcome-user/123456789" }
)
```
```go
ctx := context.TODO()
params := &resend.SendEmailRequest{
From: "onboarding@resend.dev",
To: []string{"delivered@resend.dev"},
Subject: "hello world",
Text: "it works!",
}
options := &resend.SendEmailOptions{
IdempotencyKey: "welcome-user/123456789",
}
_, err := client.Emails.SendWithOptions(ctx, params, options)
if err != nil {
panic(err)
}
```
```rust
use resend_rs::types::CreateEmailBaseOptions;
use resend_rs::{Resend, Result};
#[tokio::main]
async fn main() -> Result<()> {
let resend = Resend::new("re_xxxxxxxxx");
let from = "Acme ";
let to = ["delivered@resend.dev"];
let subject = "Hello World";
let email = CreateEmailBaseOptions::new(from, to, subject)
.with_html("it works!
")
.with_idempotency_key("welcome-user/123456789");
let _email = resend.emails.send(email).await?;
Ok(())
}
```
```java
CreateEmailOptions params = CreateEmailOptions.builder()
.from("Acme ")
.to("delivered@resend.dev")
.subject("hello world")
.html("it works!
")
.build();
RequestOptions options = RequestOptions.builder()
.setIdempotencyKey("welcome-user/123456789").build();
CreateEmailResponse data = resend.emails().send(params, options);
```
```dotnet
using Resend;
IResend resend = ResendClient.Create( "re_xxxxxxxxx" );
var key = IdempotencyKey.New( "welcome-user", 123456789 );
var resp = await resend.EmailSendAsync(key, new EmailMessage()
{
From = "Acme ",
To = "delivered@resend.dev",
Subject = "hello world",
HtmlBody = "it works!
",
} );
Console.WriteLine( "Email Id={0}", resp.Content );
```
```curl
curl -X POST 'https://api.resend.com/emails' \
-H 'Authorization: Bearer re_xxxxxxxxx' \
-H 'Content-Type: application/json' \
-H 'Idempotency-Key: welcome-user/123456789' \
-d $'{
"from": "Acme ",
"to": ["delivered@resend.dev"],
"subject": "hello world",
"html": "it works!
"
}'
```
Duplicate emails can be frustrating for your users, cost you money, and potentially have other side effects, like when email sending triggers other state changes in your application.
This fixes that problem.
## 6. Multiplayer Editor
The new multiplayer editor makes email creation a truly collaborative experience. Teams can now work together seamlessly, whether they're:
- Drafting content in real-time
- Fine-tuning designs together
- Improving copy together
This approach helps teams create better emails faster, while maintaining consistency and quality across all communications.
Both the [Broadcasts editor](/features/broadcasts) and [Templates editor](/blog/introducing-templates) now support this new collaborative experience.
## 7. React Email 5.0
This year, we launched **two major versions** of our open-source project [React Email](https://react.email).
Version 5.0, the latest version, includes preview support for dark mode, support for Tailwind 4, a new Resend integration, and 8 new components.
For help updating your project, check out the [upgrade instructions](https://react.email/docs/getting-started/updating-react-email).
## 8. Contacts Experience
As we've continued to support more advanced use cases, we saw an opportunity to improve the way we handle marketing contacts.
We made five big improvements to Contacts, that will supercharge your ability to personalize and segment your audience on Resend.
## 9. Unsubscribe Topics
When you send emails to your Contacts, you can now assign a Topic to that email.
Each contact can subscribe to multiple Topics, and can unsubscribe from any Topic at any time using the built-in [custom unsubscribe page](/docs/dashboard/settings/unsubscribe-page).
When users manage their preferences, they’ll see which Topics they’re currently subscribed to and can adjust their settings to their liking.
## 10. Inline Image Attachments
This year we announced support for inline image attachments using `CID` (or Content-ID).
Inlining an image embeds the image itself in the email (instead of hosting it somewhere else) and shows it inside the email body instead of an attachment.
 Both remote and local attachments are supported, but here is an example of inlining remote images.
```nodejs
await resend.emails.send({
from: 'Acme ',
to: ['delivered@resend.dev'],
subject: 'Thank you for contacting us',
--highlight-start
html: '
Both remote and local attachments are supported, but here is an example of inlining remote images.
```nodejs
await resend.emails.send({
from: 'Acme ',
to: ['delivered@resend.dev'],
subject: 'Thank you for contacting us',
--highlight-start
html: 'Here is our  inline logo
',
--highlight-end
attachments: [
{
path: 'https://resend.com/static/sample/logo.png',
filename: 'logo.png',
--highlight-start
contentId: 'logo-image',
--highlight-end
},
],
});
```
```php
$resend->emails->send([
'from' => 'Acme ',
'to' => ['delivered@resend.dev'],
'subject' => 'Thank you for contacting us',
--highlight-start
'html' => 'Here is our inline logo
',
--highlight-end
'attachments' => [
[
'path' => 'https://resend.com/static/sample/logo.png',
'filename' => 'logo.png',
--highlight-start
'content_id' => 'logo-image',
--highlight-end
]
]
]);
```
```python
attachment: resend.RemoteAttachment = {
"path": "https://resend.com/static/sample/logo.png",
"filename": "logo.png",
--highlight-start
"content_id": "logo-image",
--highlight-end
}
params: resend.Emails.SendParams = {
"from": "Acme ",
"to": ["delivered@resend.dev"],
"subject": "Thank you for contacting us",
--highlight-start
"html": "Here is our  inline logo
",
--highlight-end
"attachments": [attachment],
}
resend.Emails.send(params)
```
```ruby
params = {
"from": "Acme ",
"to": ["delivered@resend.dev"],
"subject": "Thank you for contacting us",
--highlight-start
"html": "Here is our inline logo
",
--highlight-end
"attachments": [
{
"path": "https://resend.com/static/sample/logo.png",
"filename": "logo.png",
--highlight-start
"content_id": "logo-image",
--highlight-end
}
]
}
Resend::Emails.send(params)
```
```go
func main() {
ctx := context.TODO()
client := resend.NewClient("re_xxxxxxxxx")
attachment := &resend.Attachment{
Path: "https://resend.com/static/sample/logo.png",
Filename: "logo.png",
--highlight-start
ContentId: "logo-image",
--highlight-end
}
params := &resend.SendEmailRequest{
From: "Acme ",
To: []string{"delivered@resend.dev"},
Subject: "Thank you for contacting us",
--highlight-start
Html: "Here is our inline logo
",
--highlight-end
Attachments: []*resend.Attachment{attachment},
}
sent, err := client.Emails.SendWithContext(ctx, params)
if err != nil {
panic(err)
}
fmt.Println(sent.Id)
}
```
```rust
#[tokio::main]
async fn main() -> Result<()> {
let resend = Resend::new("re_xxxxxxxxx");
let from = "Acme ";
let to = ["delivered@resend.dev"];
let subject = "Thank you for contacting us";
let path = "https://resend.com/static/sample/logo.png";
let filename = "logo.png";
--highlight-start
let content_id = "logo-image";
--highlight-end
let email = CreateEmailBaseOptions::new(from, to, subject)
--highlight-start
.with_html("Here is our inline logo
")
--highlight-end
.with_attachment(Attachment::from_path(path).with_filename(filename).with_content_id(content_id));
let _email = resend.emails.send(email).await?;
Ok(())
}
```
```java
public class Main {
public static void main(String[] args) {
Resend resend = new Resend("re_xxxxxxxxx");
Attachment att = Attachment.builder()
.path("https://resend.com/static/sample/logo.png")
.fileName("logo.png")
--highlight-start
.ContentId("logo-image")
--highlight-end
.build();
CreateEmailOptions params = CreateEmailOptions.builder()
.from("Acme ")
.to("delivered@resend.dev")
.subject("Thank you for contacting us")
--highlight-start
.html("Here is our inline logo
")
--highlight-end
.attachments(att)
.build();
CreateEmailResponse data = resend.emails().send(params);
}
}
```
```dotnet
var message = new EmailMessage()
{
From = "Acme ",
To = "delivered@resend.dev",
Subject = "Thank you for contacting us",
--highlight-start
HtmlBody = "Here is our inline logo
",
--highlight-end
};
message.Attachments = new List();
message.Attachments.Add( new EmailAttachment() {
Filename = "logo.png",
Path = "https://resend.com/static/sample/logo.png",
--highlight-start
ContentId = "logo-image",
--highlight-end
} );
var resp = await resend.EmailSendAsync( message );
Console.WriteLine( "Email Id={0}", resp.Content );
```
```curl
curl -X POST 'https://api.resend.com/emails' \
-H 'Authorization: Bearer re_xxxxxxxxx' \
-H 'Content-Type: application/json' \
-d $'{
"from": "Acme ",
"to": ["delivered@resend.dev"],
"subject": "Thank you for contacting us",
--highlight-start
"html": "Here is our inline logo
",
--highlight-end
"attachments": [
{
"path": "https://resend.com/static/sample/logo.png",
"filename": "logo.png",
--highlight-start
"content_id": "logo-image"
--highlight-end
}
]
}'
```
Embedded images are a powerful tool for enhancing the visual appeal of your emails.
## 11. Bonus: Pay As You Go
During busy sending seasons, you may run into your monthly quota limits on your transactional plan with Resend.
We're happy to announce that Resend now supports pay-as-you-go pricing for paid transactional email plans.
Resend will automatically charge you the overage price per each bucket of additional 1,000 emails using your default card on file.
To ensure you always have full visibility into your sending activity, Resend emails you an alert when you are approaching your quota limits, as well as when you exceed your quota (at 80%, 100%, etc.).
## Looking Forward
We hope you enjoyed the new features we launched this year.
See you in the next one.